Keeping your mechanical keyboard clean is a universal struggle, especially for anyone who snacks from time to time. Being on the computer for 5+ hours a day can take a toll on your expensive mechanical keyboard – even if it’s a top of the line water resistant keyboard. You should not wait for piles of dust to clog in between your keycaps or for the debris that makes pressing the caps sticky. Regular cleaning will just take 10–15 minutes of your time in exchange for long-lasting, clean mechanical keyboard. In this guide, I’ll tell you the best ways to clean your keyboards and what cleaning supplies work the best.
Unfortunately, there’s a lot of misinformation out there about cleaning your keyboard. Some methods widely recommended could completely ruin your keyboard altogether! It’s really important to properly clean you mechanical keyboard, especially if its an expensive RGB backlit one. Before getting into the actual step by step guide of cleaning your mechanical keyboard, let’s take a look at some of the cleaning products you’ll need.
Below you’ll find our easy to read infographic on cleaning your mechanical keyboard. This infographic is quite extensive and will show you step-by-step on how to fully clean your keyboard. For FAQs, maintenance, and a text version of the deep-cleaning, skip the infographic (hint: use the TOC links on the side of the site).
Is it Safe to Put your Keyboard in the Dishwasher?
No! The only time you should put your mechanical keyboard in a dishwasher is if you’re fully prepared for it to come out broken. While sometimes keyboards do come out from the dishwasher working, it’s a gamble not worth taking. The electronics, circuit boards, and switches in your keyboard weren’t designed to withstand being flooded with hot water. This is especially important for RGB backlit keyboards as they contain more electrical components. Just trust my advice and DO NOT put mechanical keyboards in the dishwasher, it is not safe.
Nail Polish Removers and Keyboards Don’t Mix
Harsh chemicals like acetone (usually found in nail polish remover) can ruin the aesthetics and possibly even the structure of the plastic on your mechanical keyboard. Anything that’s marketed as “Heavy Duty” is something you likely want to avoid.
If you really think you absolutely need to use something strong to clean your keyboard, test it out on one key first to make sure it’s not going to completely ruin everything else first. Also, use as little as possible and try to wipe off the substance as quickly as you can.
Routine Mechanical Keyboard Maintenance – 4 Steps
The following is a four-step guide to cleaning your mechanical keyboard. This is a great 10-15 minute cleaning job that works well for maintaining your keyboard. These are also known as the easiest ways to clean a keyboard:
Step 1: Let the dirt come out naturally
Sometimes, when small debris and crumbs lead to sticky computer keys, the easiest thing to do is let gravity do the work. Unplug your mechanical keyboard and flip it, making the keys face down the floor. Shake and tap the keyboard vigorously so the debris and crumbs stuck in between the keys would fall down.
Step 2: Blow the dust away
There are thin dust bunnies and crumbs that will not be easily removed with just shaking. For this, you can use compressed air to blow away the dirt. You may purchase an all-purpose air duster from a supply store or use empty spray cans that release compressed air as an alternative keyboard spray.
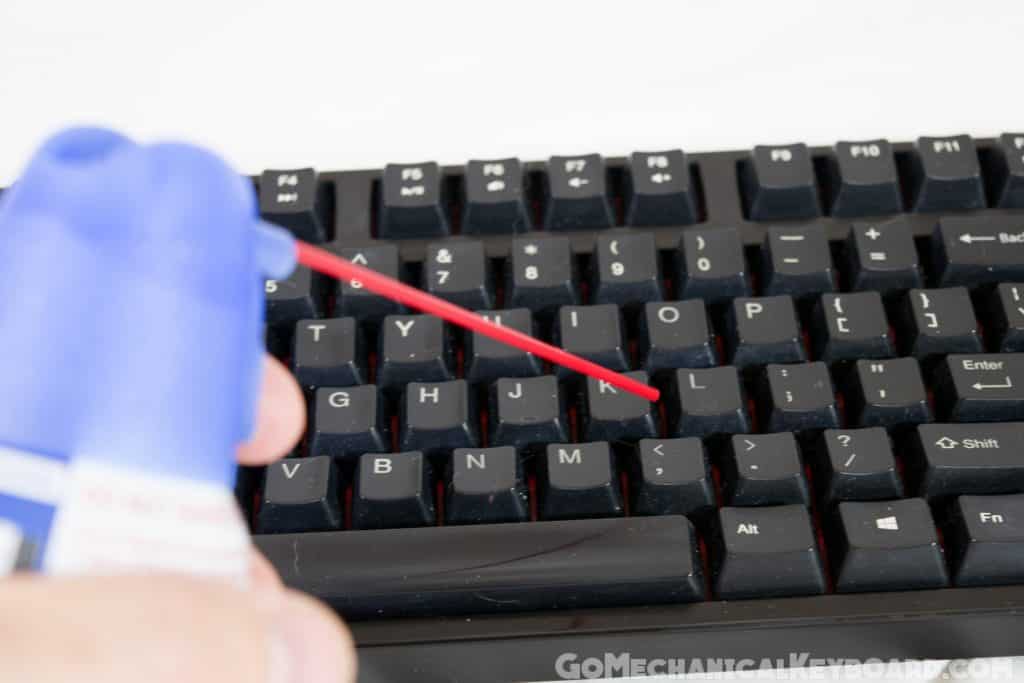
Step 3: Pickat gunk and swab between keys
Use a toothpick to gently pick out remaining gunk underneath the keycaps and dislodge it. You can also use a straightened paper clip; however, be careful about making permanent scratches when picking. Afterward, prepare a cotton swab, dampened with isopropyl alcohol, and wipe it gently around the edge of the keycaps. This process can remove the dried liquid or grease lingering on the keys.
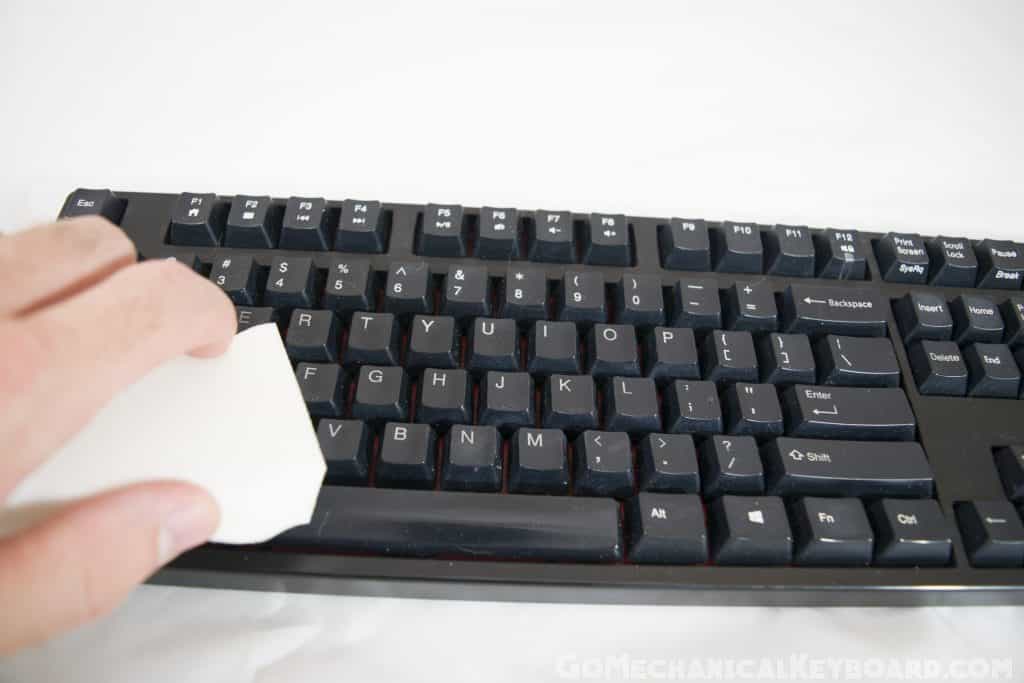
Step 4: Final touch: wiping down
For the final touch, you may use hand wipes, lens wipes, or a dampened cloth with water, to run on the surface of the keyboard. Be careful not to use strong liquid products when cleaning the surface as it can harm the plastic of the board. Use a dry cloth for the final wipe.
Mechanical Keyboard Deep Cleaning: For Stronger Debris
For keyboards that are uncleaned for years, popping the keycaps off and scrubbing deeper might be necessary. When your keyboard keys are sticking and you can feel the grease on your fingers, you will know that this needs a deeper cleaning, which usually takes 30–50 minutes. In the next steps, you will also learn how to remove keys from mechanical keyboard and how to clean sticky keys on a keyboard.
Step 1: Unplug the keyboard
Before starting, make sure you unplug the keyboard from your computer. To clean a laptop keyboard, shutdown the device and follow the manufacturer’s instructions if there is any. For delicate laptops, like Apple, you may also ask a professional on how to remove laptop keys to make sure everything is good to go. Take a photo of the keyboard so you will be able to remember the caps’ original positions when putting it back after cleaning.
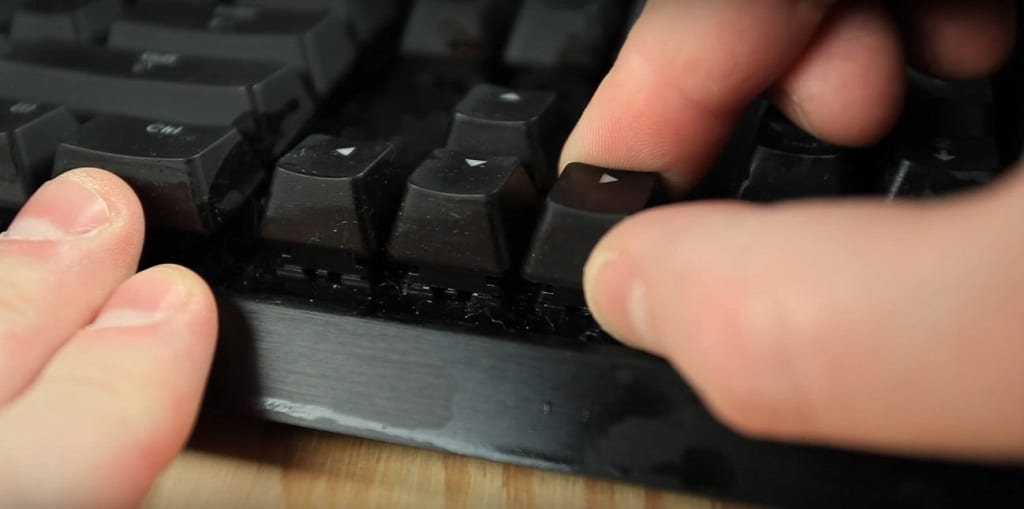
Step 2: Pop up keycaps off
The deeper cleaning starts with popping the keycaps off. Wondering how to remove mechanical keyboard keys safely? Use a flathead screwdriver and gently pry up the keycaps to remove keys on the keyboard. Note that most dust and crumbs are found under the letters and numbers. Make sure you do not destroy a cap and the plastic structure underneath it. Keep the removed keycaps in a bowl and be careful not to lose anything.
Step 3: Blast the dirt off
Pick up the air spray keyboard cleaner and blow off the dust and debris under the keycaps. For the underlying stains and stickiness, grab the dampened cloth or lens wipes and wipe those areas gently. If your keyboard has delicate internal parts, you may use a cotton swab and gently wipe the surface.
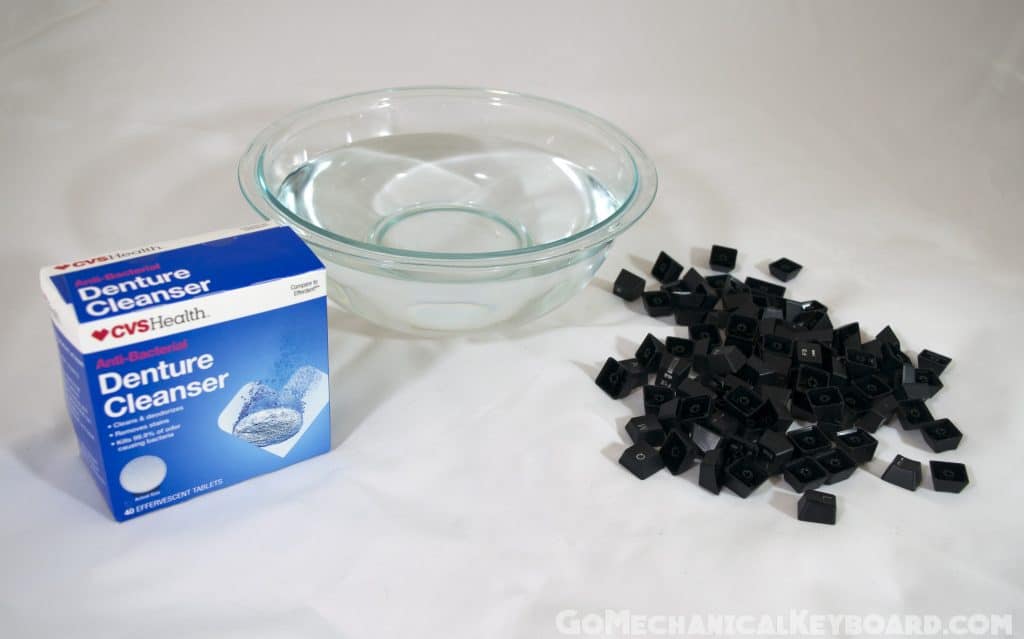
Step 4: Washing the keycaps
For dirty keycaps, you may wash them with a bucket of diluted laundry detergent to clean off the dirt and discoloration. You may also drop them in a mixture of denture cleaning tablets and warm water, and then let it soak for 30–60 minutes. Rinse the keycaps, lay them down on a paper towel, and air-dry them completely. For your device’s safety, washing is for the keycaps only. Do not submerge or wash the keyboard with water.
Step 5: Put the keycaps back and wipe for the final touch
Use the keyboard photo you’ve previously taken as reference in putting every keycap back. Make sure that everything is dry before putting it in place. For the final touch, wipe the surface of the keyboard for the last time.
Conclusion
And that concludes our guide to cleaning mechanical keyboards! Whether it be spills, dirt, or dust, it’s easy to clean a keyboard with the right tools. Make sure to clean every month or so depending on use as it will ensure that the mechanical keyboard lasts a very long time. In addition, spills or general grime can ruin the feel and clicky sounds of a mechanical keyboard. Don’t ruin a mechanical keyboard that you potentially spent a ton of money on just because you couldn’t spend a quick 15 minutes on it. If you have any suggestions on cleaning mechanical keyboards, leave a comment below.